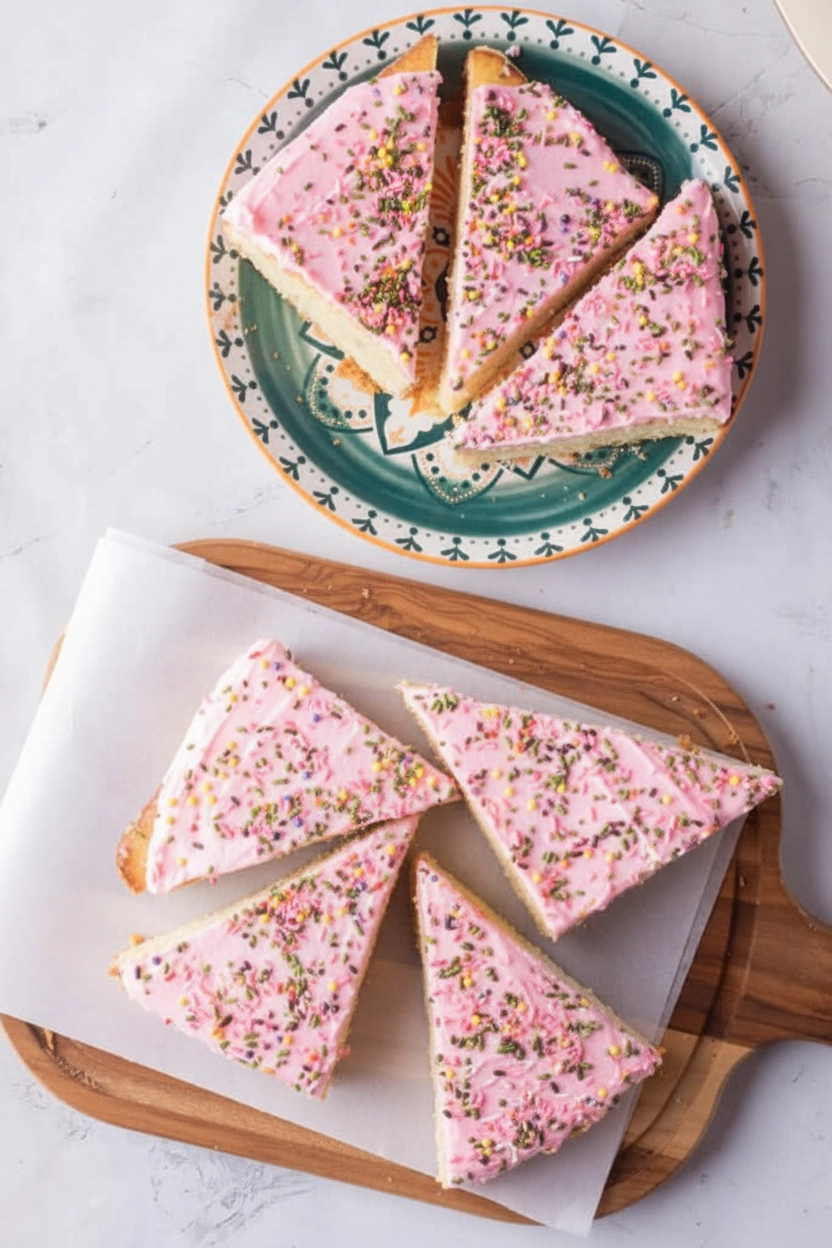
Welcome to my kitchen! If you’ve ever walked into a traditional Mexican panadería, you probably saw them. Bright, cheery trays of sponge cake topped with a vivid pink glaze and a mountain of rainbow sprinkles.
This is Cortadillo. Some call it Mexican Pink Cake. In my house, it’s just pure nostalgia. It’s often called the “children’s cake” (Pastel de Niño), and for good reason. It’s light, fluffy, and has that iconic, crackly pink topping that makes you feel like a kid again.
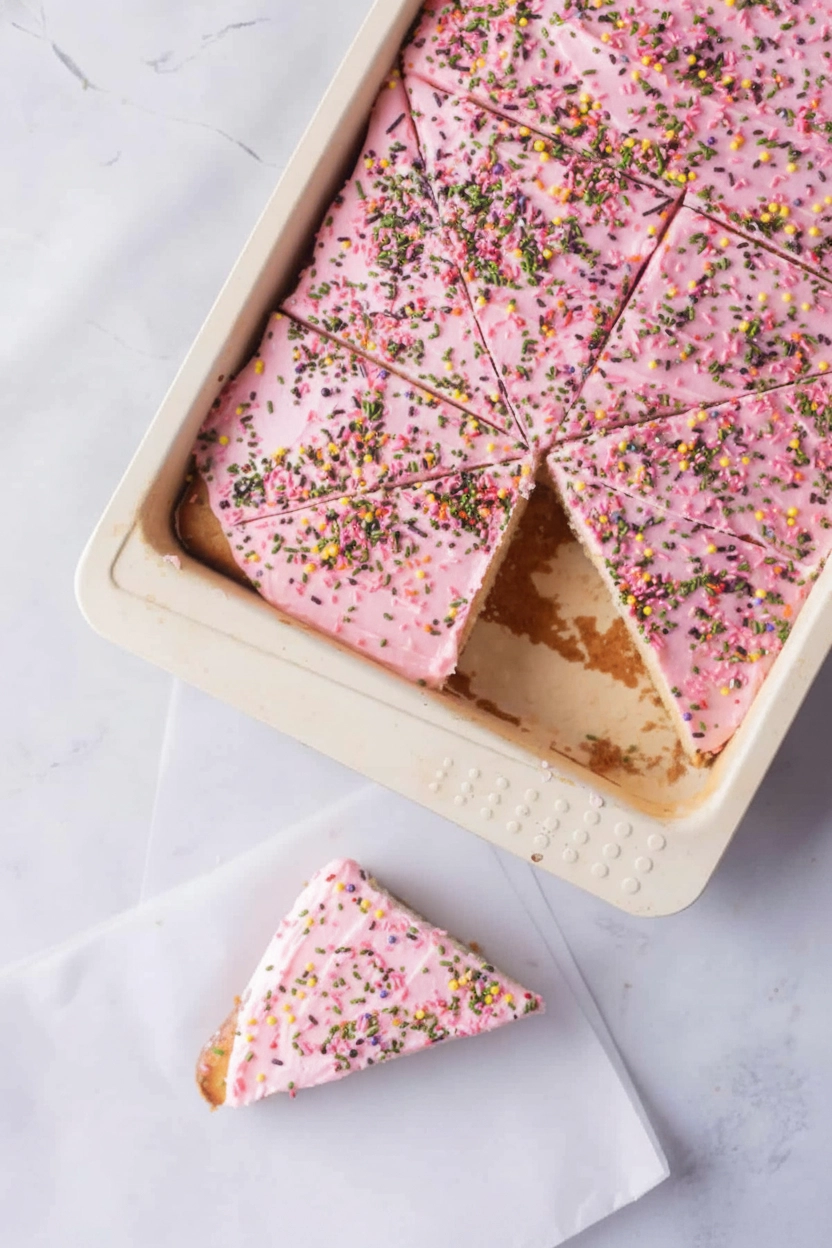
The best part about this Mexican Pink Cake? It’s simple. This isn’t some heavy, stressful triple-layered birthday cake. It’s a humble sheet cake meant to be cut into squares. That’s actually where the name comes from—cortadillo means “cut.” It’s the perfect partner for a warm cup of coffee or café de olla.
I recently tried a few different ways to make this at home. I found that adding a little cornstarch is the secret. It makes the cake much more tender than the ones you find in the store.
Recipe Overview
Before we get our hands messy, let’s look at the plan. This recipe is very forgiving. Even if you aren’t a pro baker, you can do this.
- Time: 25 minutes to prep, 25 minutes to bake. You’ll be eating in about an hour.
- Servings: This makes 16 good-sized slices.
- Skill Level: Easy. If you can stir a bowl, you’re overqualified.
- The Gear: You’ll need an 8″ x 11″ pan. Use a sifter if you have one—it keeps the cake light. A hand mixer is great, but a whisk and some arm strength work too.
The good news? You can bake the cake a day early. Just wrap it up tight. Save the glaze for the day you want to eat it so it looks fresh and bright.
Quick Reference Scaling Table
| Ingredient | 16 Servings (8″x11″ Pan) | 32 Servings (13″x9″ Pan) |
| All-Purpose Flour | 2 ¼ cups | 4 ½ cups |
| Sugar | 1 cup | 2 cups |
| Vegetable Oil | 1 cup | 2 cups |
| Large Eggs | 4 eggs | 8 eggs |
| Whole Milk | ½ cup | 1 cup |
The Ingredients: Quality and Substitutions
Most of this is probably already in your pantry. For the cake, you need 2 ¼ cups of all-purpose flour and a pinch of salt.
The “pro” move? Add 2 tablespoons of cornstarch. Think of it like a cheat code. It softens the flour so the cake feels like a cloud. You’ll also need 3 teaspoons of baking powder for the lift.
For the wet stuff:
- 1 cup of sugar
- 4 large eggs (room temperature is best)
- 1 cup of vegetable oil
I use oil instead of butter. Why? Because oil stays liquid at room temperature. It keeps the cake moist for days. Butter can make it get hard in the cupboard.
To make it smell like a real bakery, use 2 teaspoons of vanilla extract and the zest of 1 lemon. If you like things a bit sour, use 3 tablespoons of lemon juice instead. Finally, grab ½ cup of whole milk.
For that famous pink top:
- 3 cups of confectioners’ sugar
- 3 tablespoons of softened butter
- 4 tablespoons of milk
- Pink gel food coloring * Candy sprinkles
Step-by-Step Method: A Guided Walkthrough
1. Preparing the Foundation
First, get your oven to 350°F. Spray your 8″ x 11″ pan with oil. Now, sift your flour, salt, cornstarch, and baking powder together. Don’t skip the sifting! It’s like giving the flour room to breathe. It makes the cake way fluffier.
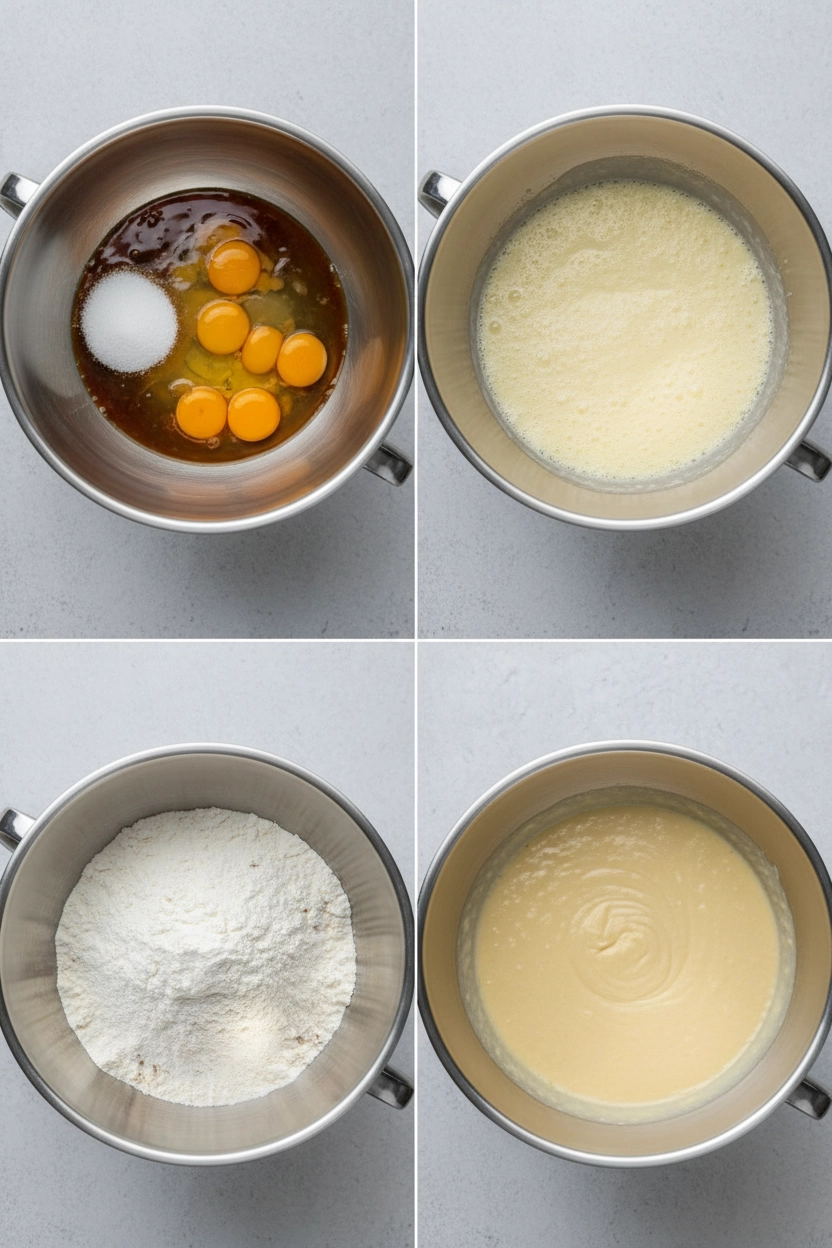
2. Creaming and Emulsifying
In another bowl, whisk the eggs, sugar, vanilla, and oil. Keep going until it looks pale and frothy. You’re basically trapping air bubbles here. Those bubbles do the heavy lifting in the oven. Stir in that lemon zest last. It smells amazing.
3. The Alternating Mix
Here is the trick. Add a third of your flour mix, then half of your milk. Stir gently. Repeat this until it’s all in. Stop mixing as soon as the white flour disappears.
If you over-mix? You get tough bread, not soft cake. The batter should look like thick heavy cream.
4. Baking and Cooling
Pour it in and bake for 20-25 minutes. You want the top to be light golden brown. Use a toothpick to check the center. If it comes out clean, you’re done.
Wait! Let it cool completely. If the cake is even a little warm, your pink glaze will melt into a puddle.
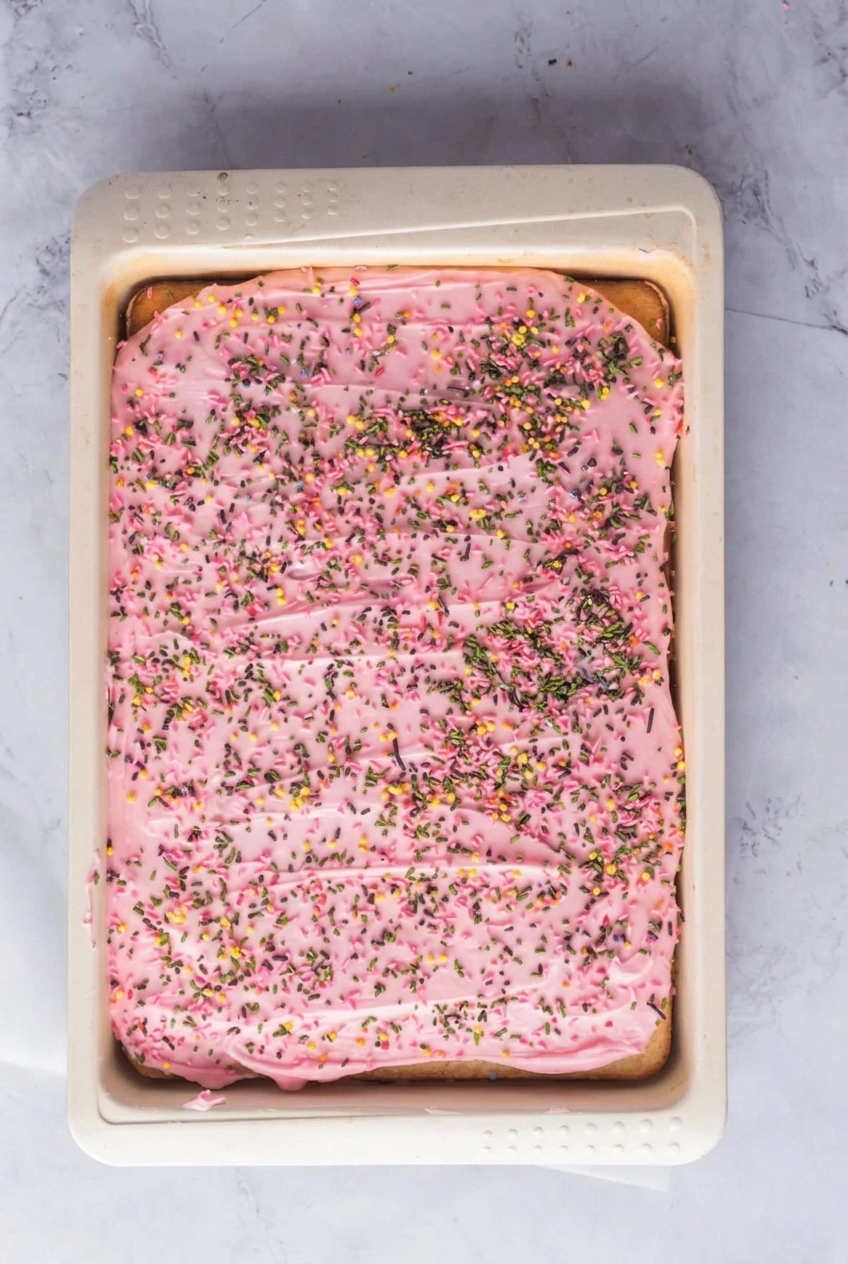
5. The Signature Pink Glaze
Whisk your sugar, butter, milk, and vanilla. Add the pink color one drop at a time. Gel color is strong! Spread it over the cool cake and dump those sprinkles on immediately so they stick.
Variations & Customization
- Gluten-Free: Use a 1:1 gluten-free flour blend with xanthan gum.
- Vegan: Use applesauce or flax eggs and almond milk.
- Fancy Style: Slice the cake in half and put strawberry jam in the middle. It’s a total upgrade.
Serving & Storage
Cut them into squares or the classic bakery triangles. It’s the perfect afternoon snack.
- Storage: Keep it in a container at room temp for up to 3 days. It stays moist because of the oil.
- Freezing: You can freeze the plain cake (no frosting) for 3 months. Just thaw it and glaze it when you’re ready.
One last tip: Don’t put this in the fridge. The fridge is the enemy of this cake. It dries out the sponge and makes the glaze get all sticky and “sweaty.” Keep it on the counter!
PrintMexican Pink Cake Recipe (Pan Dulce Cortadillo)

If you’ve ever stepped into a Mexican bakery and seen those bright pink, sprinkle-covered squares, you’ve found Cortadillo. This classic pan dulce is essentially a “children’s cake” (Pastel de Niño)—a light, airy sponge topped with a signature crackly glaze. It’s simple, nostalgic, and perfect for dipping into your morning coffee. My version uses a dash of cornstarch for an extra-tender crumb, making it even better than the bakery version!
- Prep Time: 25 minutes
- Cook Time: 25 minutes
- Total Time: 50 minutes
- Yield: 16 slices
- Category: Dessert / Bread
- Cuisine: Mexican
Ingredients
For the Sponge:
- All-Purpose Flour: 2 ¼ cups
- Cornstarch: 2 tablespoons (the secret to a soft crumb)
- Baking Powder: 3 teaspoons
- Salt: A pinch
- Sugar: 1 cup
- Vegetable Oil: 1 cup
- Large Eggs: 4 (room temperature)
- Whole Milk: ½ cup (room temperature)
- Vanilla Extract: 2 teaspoons
- Lemon Zest: From 1 lemon (or 3 tbsp lemon juice)
For the Pink Glaze:
- Confectioners’ Sugar: 3 cups
- Butter: 3 tablespoons (softened)
- Whole Milk: 4 tablespoons
- Pink Gel Food Coloring: A few drops
- Rainbow Sprinkles: As many as your heart desires
Instructions
- Prep the Oven: Heat your oven to 350°F. Grease an 8″ x 11″ baking pan.
- Sift Dry Ingredients: Sift your flour, cornstarch, baking powder, and salt. This removes lumps and keeps the cake light.
- Whisk the Wet Mix: In a large bowl, whisk eggs, sugar, oil, and vanilla until pale and frothy. Stir in the lemon zest.
- The Alternate Mix: Add about a third of the flour mix to the wet bowl, then half of the milk. Stir gently. Repeat until just combined. Don’t over-mix!
- Bake: Pour into the pan. Bake for 20-25 minutes. A toothpick in the center should come out clean.
- Cool Completely: Let the cake cool in the pan. If it’s warm, the glaze will melt right off.
- Glaze & Sprinkle: Whisk the icing ingredients until smooth. Add pink dye until you get that perfect “bakery pink.” Spread it on and immediately top with sprinkles.
Notes
Serving Suggestions:
- The Classic Way: Slice into traditional triangles or squares and serve with café de olla.
- Fancy it up: Add a dollop of whipped cream or fresh strawberries on the side.
Tips & Tricks:
- Room Temp Matters: Make sure your eggs and milk aren’t cold. It helps the batter emulsify for a smoother cake.
- Oil over Butter: I always use oil here. It keeps the sponge moist and soft, even if you eat it the next day.
- Sift, Sift, Sift: It seems like an extra step, but it’s the difference between a dense cake and a “cloud” cake.
Storage & Reheating:
- On the Counter: Keep it in an airtight container for up to 3 days.
- Freezing: You can freeze the un-frosted sponge for up to 3 months. Wrap it tight!
- Avoid the Fridge: Seriously—the fridge dries out the cake and makes the pink glaze sticky and “sweaty.” Keep it at room temperature.
Leave a Reply